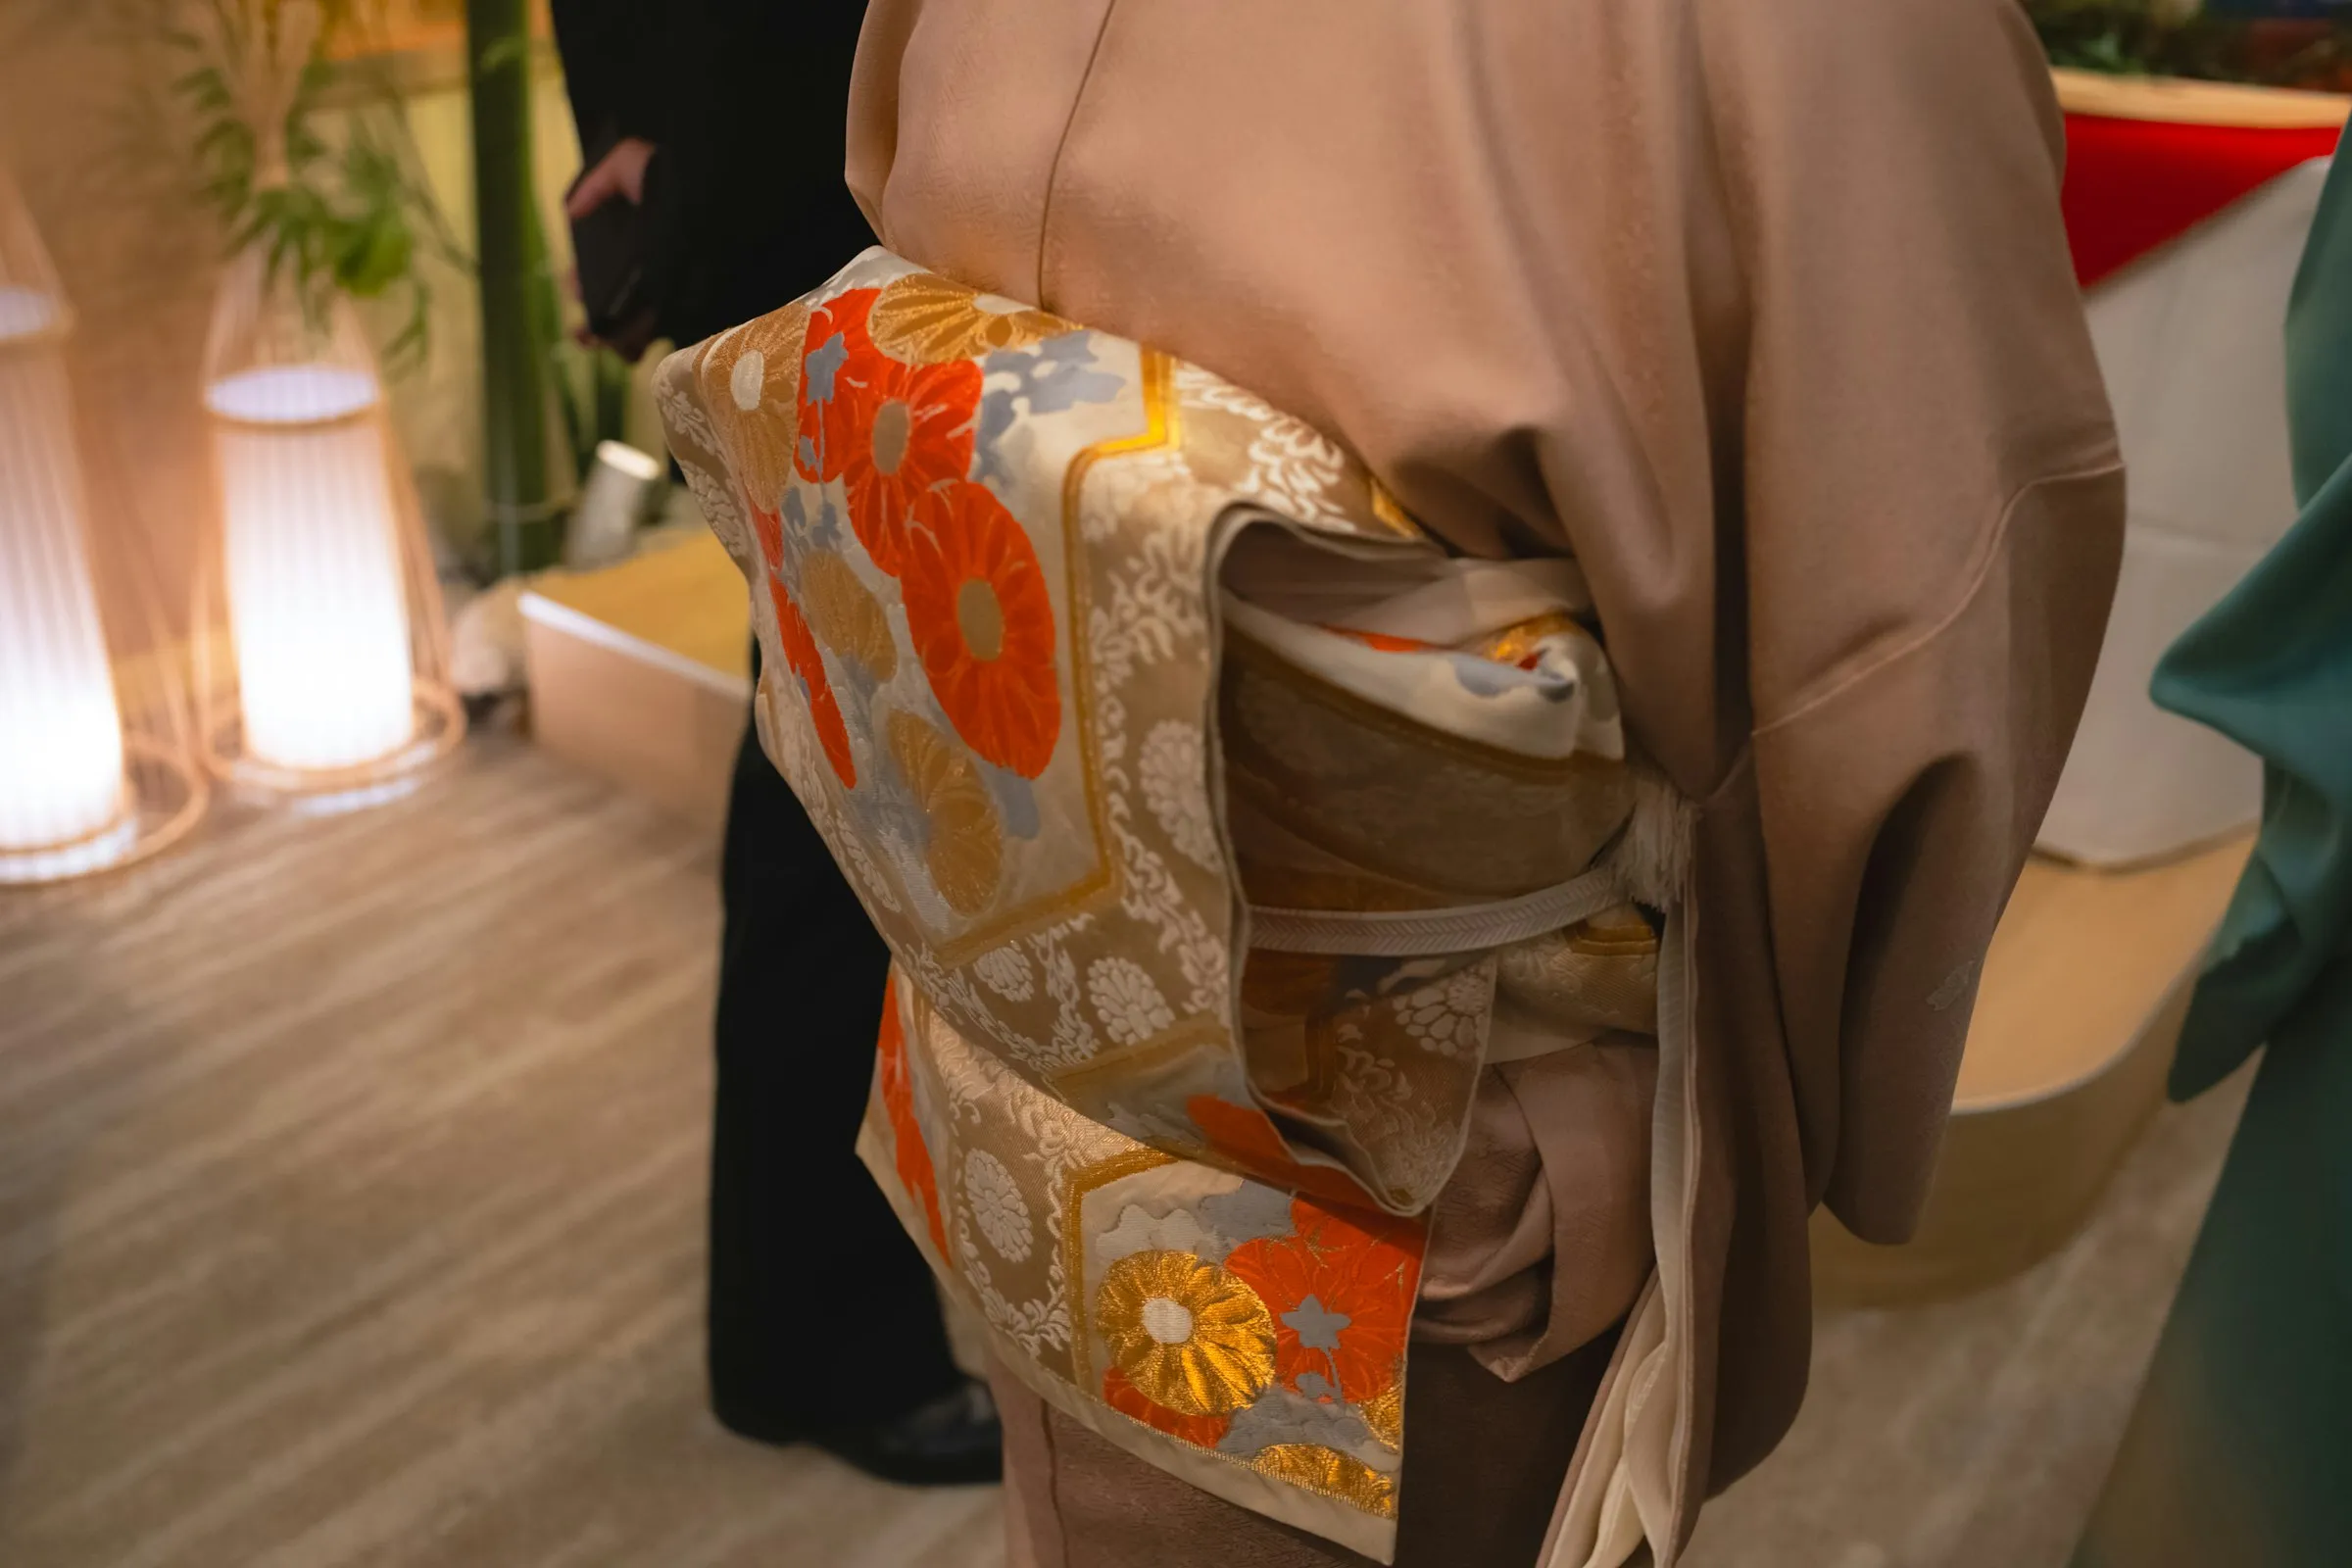
What to Look for in a Kimono Rental (A Wearer's Checklist)
Some links are affiliate links — we may earn a small commission at no extra cost to you.
Quick answer
Most kimono rental problems can be caught before you leave the shop. Before booking, check what's included, the return time, and the rain and stain policy. While you're being dressed, watch for a left-over-right front, a collar that sits slightly away from the back of your neck, and an obi that's snug but lets you breathe. Then, before you walk out, take two minutes to sit down, walk, climb a step and raise your arms in the shop. Anything that feels wrong then will feel worse by mid-afternoon.
How to use this checklist
I wear kimono to tea lessons, so I've been dressed by other people often enough to know which small things decide whether a day goes well. Almost none of them are about the pattern you pick. They're about fit, timing, and knowing the shop's rules before you need them.
This checklist runs in the order you'll actually meet each step. For rough prices and how to spot a tourist-trap shop, see our wearer's guide to kimono rental in Tokyo. If you haven't picked a neighborhood yet, start with Asakusa vs Ginza vs Kamakura.
1. Before you book (on the booking page)
- What the price includes. Hair styling, the bag, tabi socks and zori sandals are sometimes bundled and sometimes separate. Compare the all-in price, not the headline number.
- Return time. Most shops want the kimono back by late afternoon or early evening. If you plan a dinner or a sunset photo, check whether a next-day return option exists and what it costs.
- Late return fee. Ask what happens if you're 30 minutes late. Some shops charge by the hour.
- Rain policy. Can you reschedule for free if it rains? Do they lend an umbrella or a rain cover?
- Stain and damage policy. Spills happen, especially with street food. Know whether small stains are covered in the price or charged afterward.
- Seasonal weight. If you're visiting near a season change, ask whether they've switched to lined (awase) or unlined (hitoe) stock yet. The calendar and the wardrobe don't always move together.
- Size range. If you're tall, very short, or have larger feet, email first. Rental fleets cover a range, but the edges fill up fast.
2. At the counter (choosing your kimono)
- Pick the kimono first, then the obi. The obi changes the whole look, and good staff will suggest two or three that work with your kimono.
- Ask what it's made of. Polyester is normal and practical for rental. You just want to know what you're wearing, especially if you were sold "silk."
- Look at the hem and sleeve edges. These wear first. Fraying or a visible stain on the hem means the set hasn't been well maintained.
- Try the zori before anything else. Your feet will decide how long your day lasts. Your heel can hang slightly off the back — that's normal — but the thong between your toes shouldn't pinch.
- Ask for tabi in your size. Loose tabi twist and rub. Too-small tabi are worse.
3. While you're being dressed
You can't see most of this happening, but you can check it in the mirror and ask.
- Left over right. The left side of the kimono should cross over the right side when you look down at yourself. Right over left is only for dressing the dead, and a good shop will never get this wrong. It's still worth a glance.
- A small gap at the back of the collar. The collar should sit slightly away from the back of your neck (this is called emon). How wide depends on the style; for a casual rental, roughly two or three fingers is typical. If it's tight against your neck, the whole kimono tends to shift forward through the day.
- The under-collar shows evenly. A thin, even strip of the white under-collar (han-eri) should show at the front of your neck, the same width on both sides.
- The fold at the waist is neat. The extra length is folded at the waist under the obi (ohashori). It should be a straight, flat fold about a hand's width deep, not bunched.
- The ties aren't too tight. Several thin cords (koshihimo) go on under the obi. If one is digging in at the ribs or hips, say so now. It's a 30-second fix in the shop and impossible to fix on the street.
4. Before you walk out (the two-minute test)
Do this in the shop, while the staff are still there to adjust things.
- Breathe and bend. Take a full breath and lean forward as if picking up a bag. The obi should hold you, not squeeze you.
- Sit down. Sit on a chair, then stand up again. If the front opens or the obi digs into your stomach, ask for an adjustment.
- Walk ten steps. Small steps, toes slightly inward. The hem should stay just above your ankles and not open at the front.
- Climb one step. Stairs and train steps are where a too-long hem catches.
- Raise your arms. Reach up as if holding a strap on a train. The sleeves will move; the collar shouldn't.
- Check the back. Ask to see the back in a mirror, or ask the staff to take a photo. The obi knot should be centered and the collar gap should look even.
5. During the day (small fixes)
- The front collar loosens. Reach under the obi at your side and gently pull the fold at your waist downward. This tightens the collar again.
- The hem starts to drop. Lift it slightly back into the waist fold, or ask a shop near you. Many rental shops will help even if you didn't rent from them, but don't count on it.
- Sleeves. Hold the sleeve with your other hand when reaching across a table, for food, or for a train strap.
- Stairs. Lift the front of the kimono slightly with one hand and take the stairs one step at a time.
- Restrooms. Tuck the long sleeves into the obi and lift the layers in order.
- Food. Put a handkerchief on your lap and avoid sauce-heavy street food near light-colored kimono.
If you're wearing your rental to a tea ceremony, the main extra concern is kneeling. Our guide to what to wear to a tea ceremony covers that, and some venues in our Price Index include a kimono option so you're dressed on site.
6. Returning the kimono
- Allow 15–20 minutes before closing. Undressing is quicker than dressing, but there may be a line.
- Keep everything together. Small items like the obi cord or the bag are easy to leave in a café.
- Mention any stain yourself. It's easier to talk about it at the counter than to receive a bill later.
- Collect your own things. Shops store your clothes and bags while you're out. Check you have your umbrella and any shopping bags.
The short version
- Before booking: what's included, return time, late fee, rain and stain policy.
- At the counter: kimono first, then obi; check the hem; try the zori early.
- While dressing: left over right, a small gap at the back of the collar, nothing digging in.
- Before leaving: sit, walk, climb, raise your arms, check the back.
- During the day: pull the waist fold to fix the collar; hold your sleeves.
- Returning: arrive early and mention stains yourself.
Frequently Asked Questions
- How long does it take to get dressed at a kimono rental shop?
- Plan on about an hour in total for choosing, dressing and hair styling if it's included. The dressing itself usually takes 15–20 minutes. Add more time in peak seasons when the shop is busy.
- What should I wear underneath a rental kimono?
- Wear thin, close-fitting underwear and a camisole or a tank top with a wide neck that won't show at the collar. Many shops provide a slip or under-layer. Avoid thick tops, because they make the collar and the waist bulky.
- Can I bring my own bag?
- You can bring a small bag, but a large backpack looks out of place and can crush the obi knot. Most shops include a small bag along with the zori.
- What if the kimono feels too tight after I leave the shop?
- Go back if you can. Most shops will adjust it for free. Don't untie anything yourself.